Find all the necessary information on this page to set up your Berkey® system: assembly, priming your Black Berkey® or PF-2™ filters, and how to test your system to ensure it functions correctly.
Assembling Your Berkey® System
You've just received your Berkey® system and are ready to set it up. This process is not difficult, but it must be carried out in specific steps to ensure that nothing is overlooked and that you have a functional system with optimal filtration. Each step is essential, especially priming the filters. If this step is not done correctly, your filters will not work.
What's in the Box
Each system comes with an upper and lower chamber, a lid with a knob and screw for attachment (for stainless steel systems), a standard plastic spigot with washers and a nut, plugs to seal unused holes in the upper chamber (except for the Travel Berkey® model), and a large anti-slip rubber gasket that fits on the bottom of the lower chamber (for stainless steel systems). Inside a sealed cardboard box, you will find a pair of Black Berkey® filters, each equipped with a black washer and a wing nut for attachment to the upper chamber, as well as a brown washer that can be used for priming the filters (one of three priming methods).
Contents of the Priming and Testing Kit
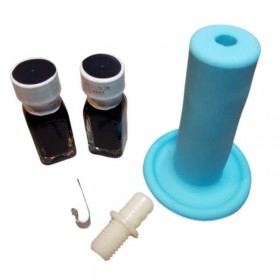
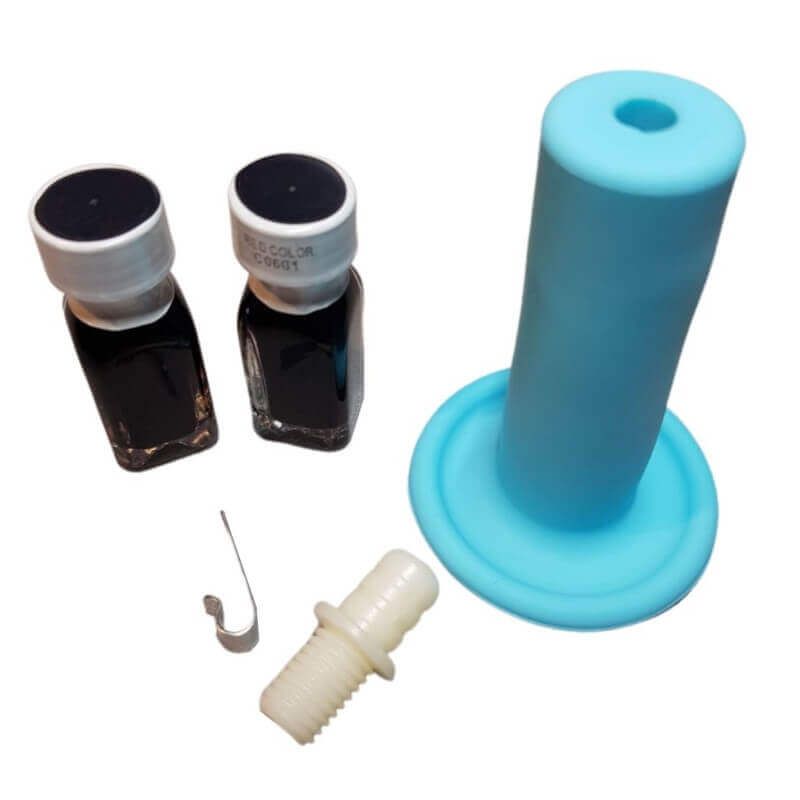
This kit is provided in a plastic pouch and includes a blue priming button for easily priming your filters, a plastic adapter for priming optional PF-2™ filters, an anti-airlock metal clip, and two small bottles of red dye, the use of which is explained below.
If your system was purchased from Berkey® France Millenium, download links for comprehensive French manuals were provided in your order confirmation and shipping emails. If you've lost these emails and need to retrieve the manuals, please contact us via our contact form and include your order reference. A new email with the download links will be sent to you.
These manuals contain all the necessary and detailed information for setting up your Berkey® system. A video (in English) is also available to guide you through assembling your Berkey® system.
Below is a summary of the steps.
Before You Start
Ensure you have all the parts listed in the sections above. If you notice any missing or damaged items, contact us so we can send you the missing item.
Clean all the components: upper and lower chambers, lid, spigot, lid knob, chamber plugs, and spigot with hot water and a few drops of dish soap. Rinse them thoroughly and lay the chambers flat to prevent rolling and falling.
Note: Do not wash the Black Berkey® filters with any product. Simply rinse them with cold water. PF-2™ filters can be cleaned with dish soap, provided the blue caps remain in place.
Assembling the Lid
Insert the screw with its washer through the bottom of the lid and screw the knob on top by turning it clockwise without over-tightening.
Installing the Plugs
If your upper chamber has more holes than the number of Black Berkey® filters to install, plug the unused holes with the provided plugs. These can be either screw plugs or simple rubber plugs; it doesn't affect the system's performance. If they are screw plugs, unscrew them and position them in each hole, sandwiching a silicone washer on each side of the chamber. Screw from the bottom by hand, tightening reasonably to ensure a seal.
If you have simple plugs, insert them from the top, pressing enough to seal but not too hard to avoid damaging them.
Metal Clip from the Accessory Kit
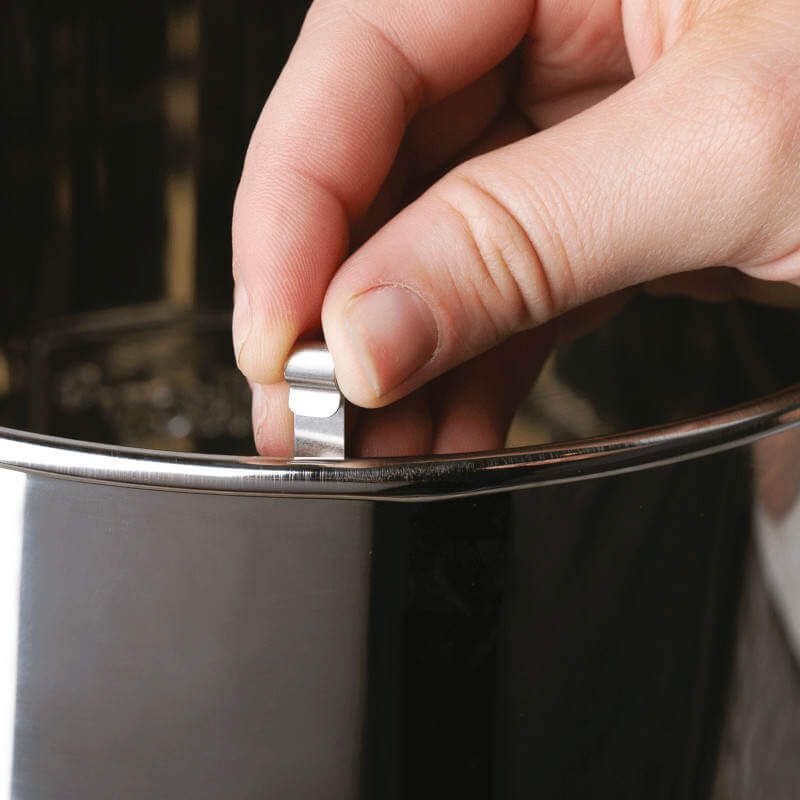
This clip creates a space between the two chambers to allow air to pass. This is necessary if the chambers fit too perfectly or if water is present at the junction, creating a tight seal. When you open the spigot to dispense water, if no air can enter, the lower chamber will be under pressure, and the flow will eventually slow down until it stops completely. The clip allows air to pass, preventing this issue. Refer to the downloadable documentation from your emails for more details.
Assembling the Spigot
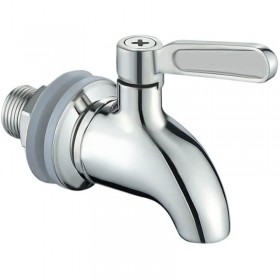
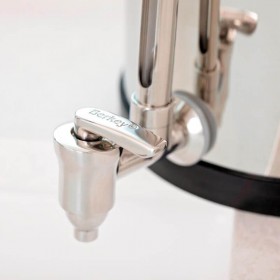
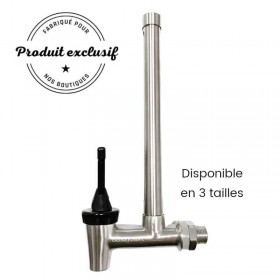
The spigot is assembled on the lower chamber, with a washer on each side of the wall and gently hand-tightening. See the assembly details in the provided documentation or in this video (in English). For optional spigots, all stainless steel or sight glass spigots, see the provided assembly instructions.
Priming Your Black Berkey® Filters
This step is COMPULSORY and you should not fill your Berkey® system with water until this step is completed. The structure of the filters is very dense and filled with air until they have been used or after being purged, such as during extended absence. Additionally, there is a significant internal surface tension that naturally prevents water or any other liquid from penetrating. This, combined with the microporous structure composed of thousands of micro-channels so fine they trap red food dye and even bacteria, requires priming to expel air and allow water to enter. Without this step, your filters would work very slowly, if at all.
Priming can be done using the beige priming washer provided with your filters, the blue valve provided in the accessory kit, or the primer pump. In the first two cases, priming is done with tap pressure. In the latter case, a container filled with water suffices. This accessory is necessary for priming without access to tap water, for example, while traveling or in emergencies. All priming techniques, regardless of the method used, are detailed in the downloadable manuals provided with your purchase from Berkey® France Millenium. See this video (in English) for priming Black Berkey® filters using the washer, and this video (in English) for priming with the pump. The blue button priming technique is illustrated in the downloadable manual.
Installing Your Black Berkey® Filters
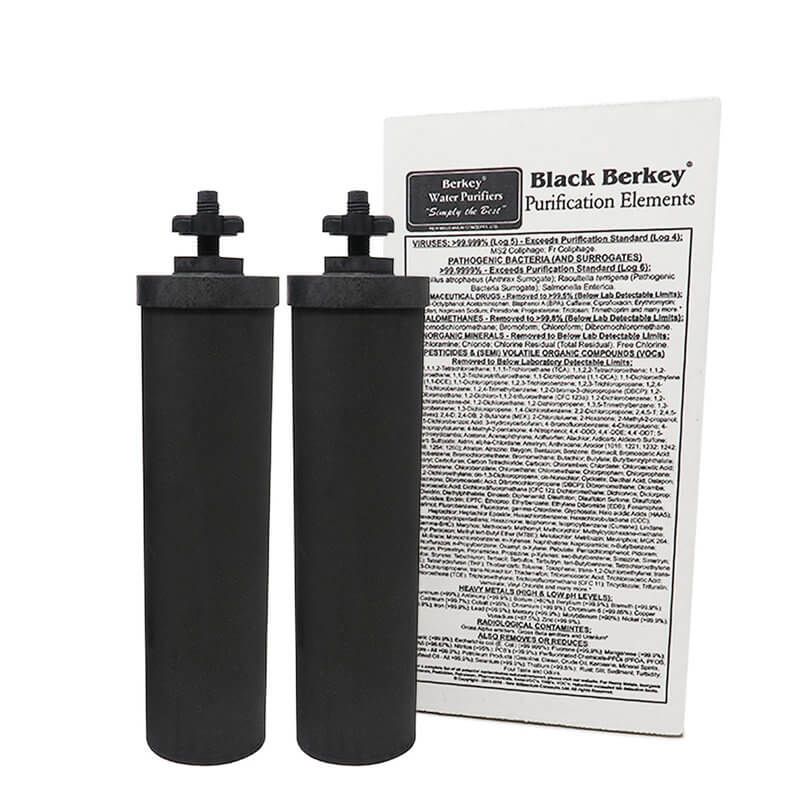
Once all your filters are primed, there is one last assembly step. Insert the Black Berkey® filters into the holes of the upper chamber, sealing washer on top inside the upper chamber, and secure with the wing nut.
Note: Although perfectly suited for securing Black Berkey® filters, these nuts are plastic and can deform if not inserted perpendicularly to the filter stem. Ensure proper alignment and hand-tighten just enough to seal without over-tightening, to avoid damaging the threads and compromising the seal. If a nut is damaged or worn over time, replacements are available on our shop in the spare parts section.
Filter installation details are provided in the French manuals included with your purchase. This video (in English) shows how to install your Black Berkey® filters into your Berkey® systems.
Performing a Red Dye Test
Berkey® systems are so effective that they filter out red food dye in the water. This is an excellent way to ensure your filters are properly installed.
After a few filtrations to ensure your filters are well primed and leak-free, you can perform this test. Color your water bright red with food dye and pour it into the upper chamber. If the filtered water is perfectly clear, your filters are correctly installed. If the water is slightly colored or clearly colored, the filter installation needs to be reviewed.
Important:
- Not all dyes are suitable for this test. The specific requirements are explained in our FAQ.
- Remove PF-2™ filters before conducting this test.
The procedure for this test is detailed in a French manual, with the download link sent to you upon purchase from Berkey® France Millenium.
This video (in English) explains the red dye test procedure.
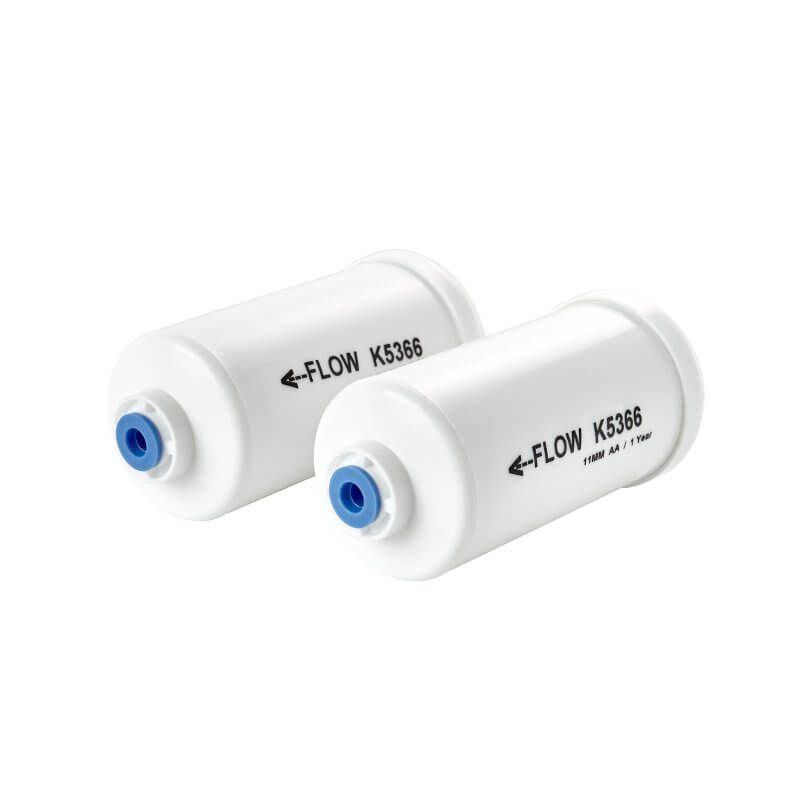
Priming Your Optional PF-2™ Filters
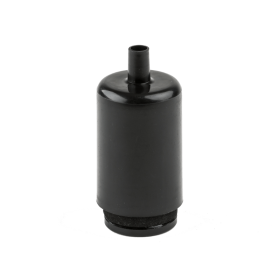
Optional PF-2™ filters must be primed before first use. This can be done easily under a tap with the silicone priming button and adapter included in the accessory kit. The detailed procedure is described in the downloadable manual provided with your purchase from our shop.
Installing Your Optional PF-2™ Filters
PF-2™ filters are optional filters that enhance filtration of heavy metals, fluorides, and arsenic. They cannot be used alone and are installed in addition to Black Berkey® filters. Install as many PF-2™ filters as there are Black Berkey® filters in your system. The installation is detailed in the downloadable manuals provided with your purchase from Berkey® France Millenium.

